 #### Add Context Menu
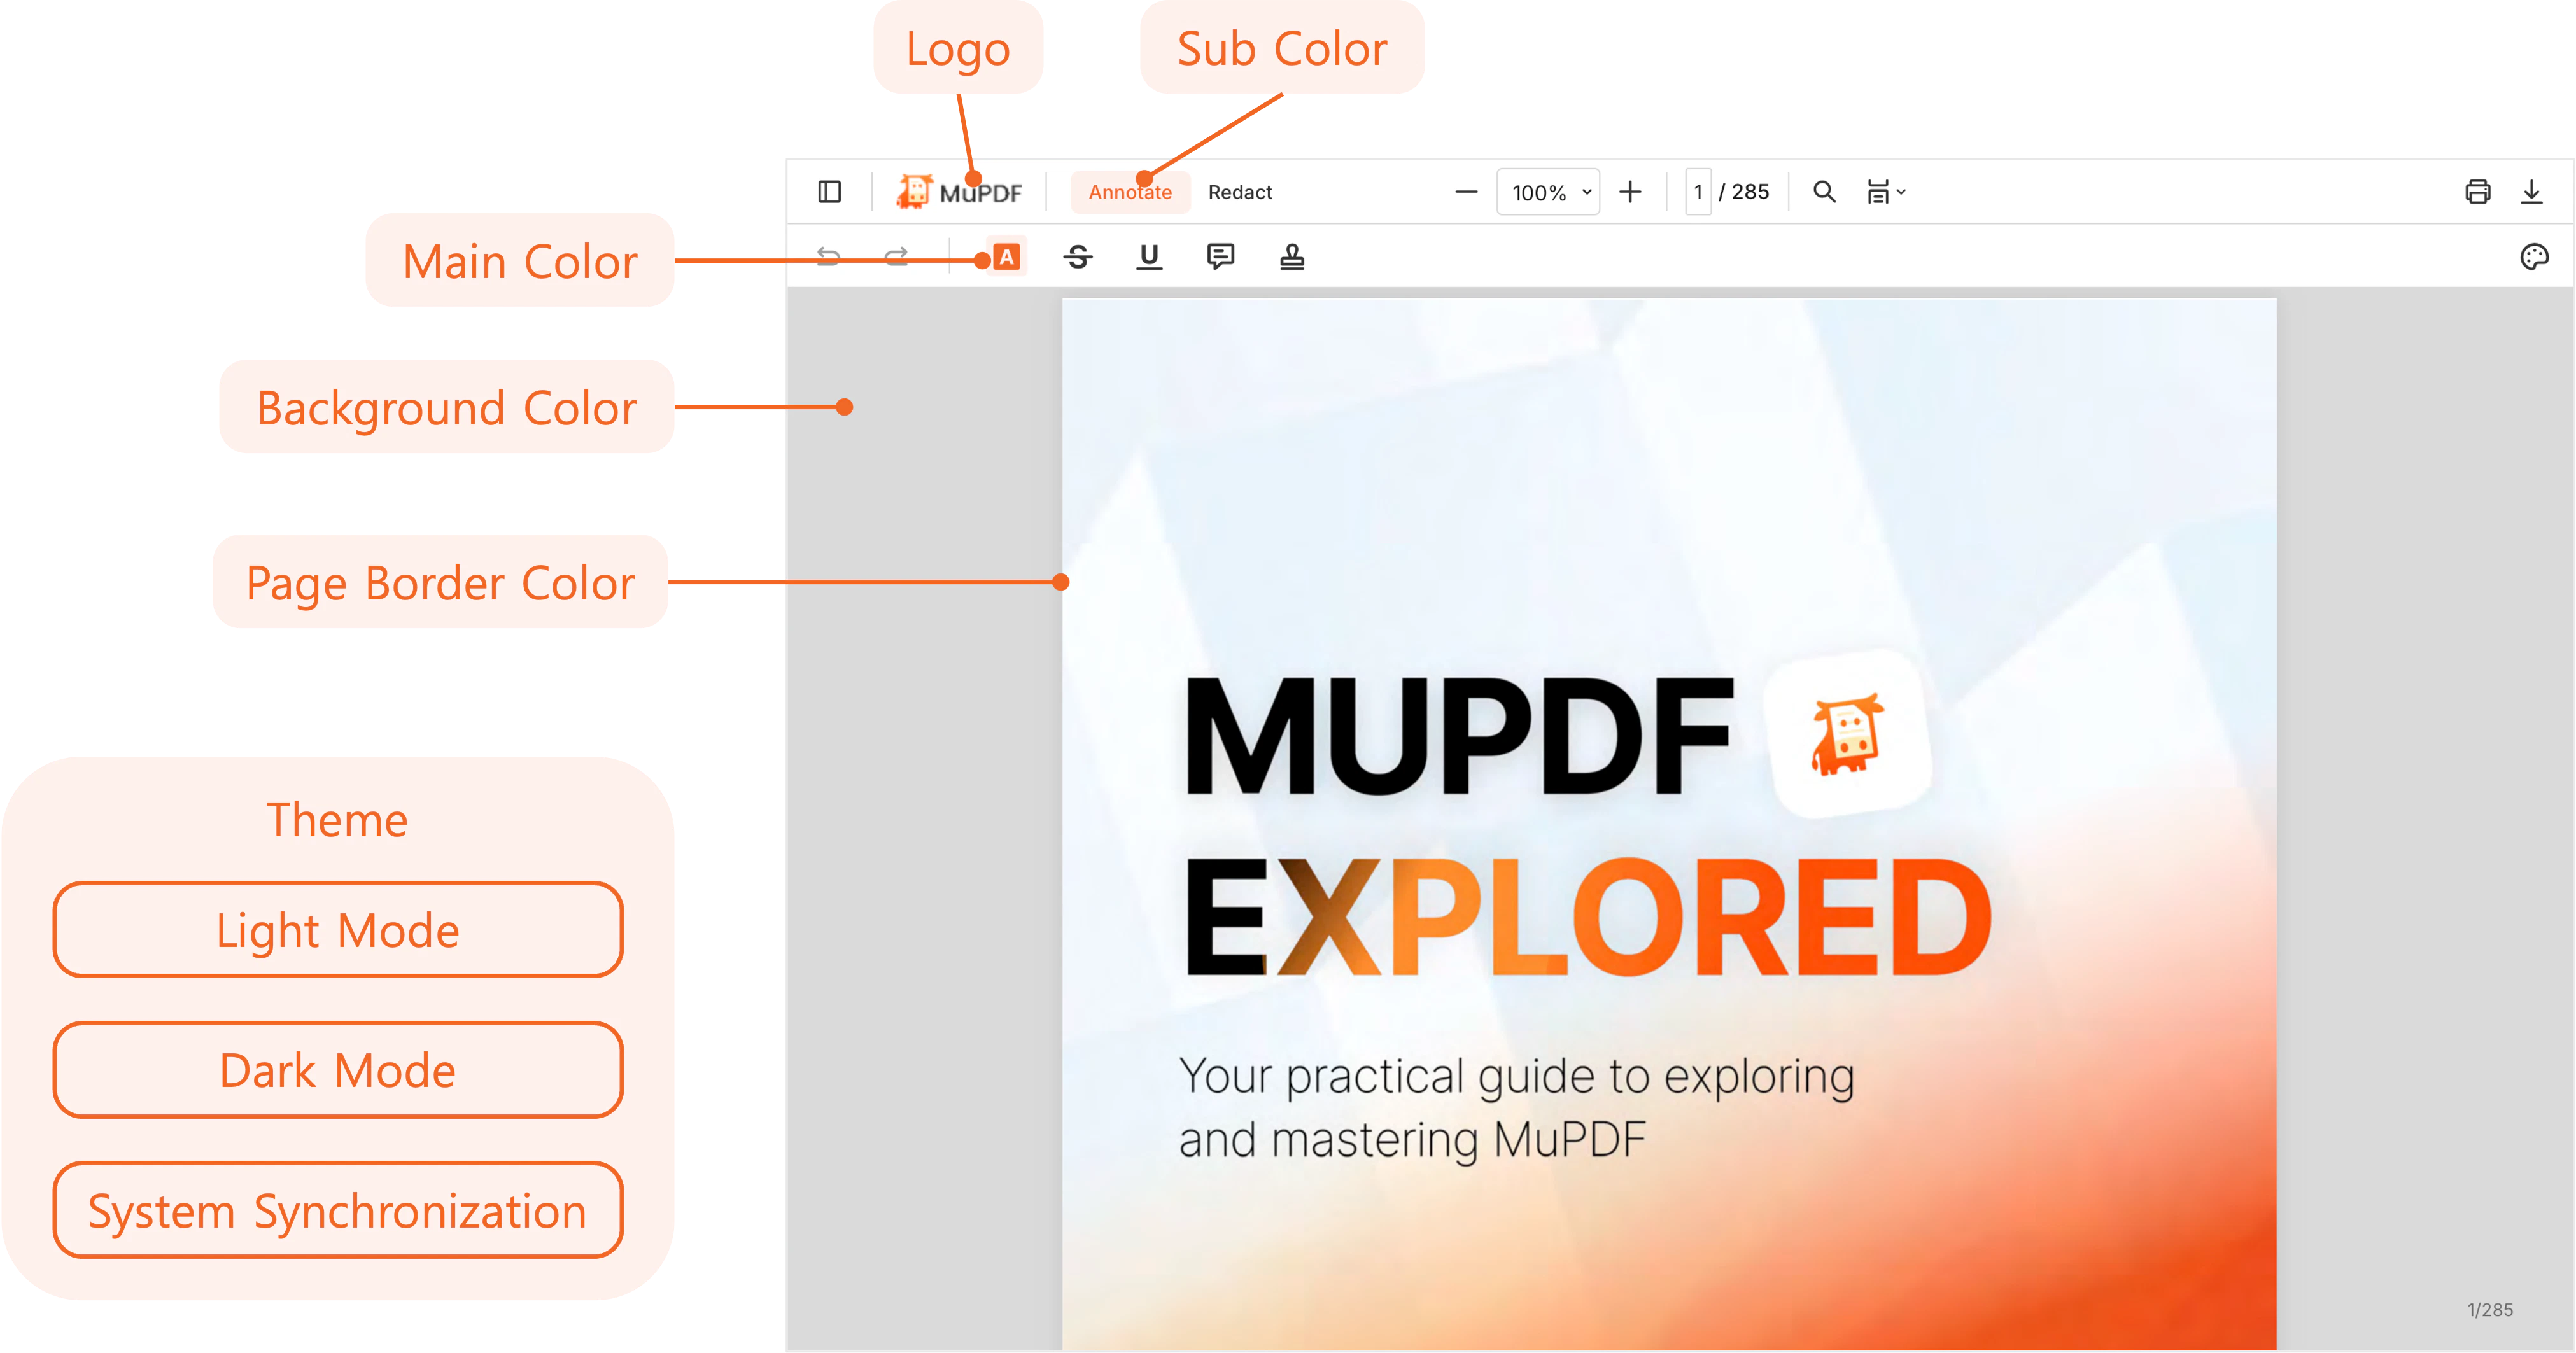
You can add items to the context menu (the pop-up menu you see when you right click on a document in MuPDF WebViewer) using the [`viewer.addContextMenu()`](/api-reference/viewer/index#addcontextmenu) function.
For example, if you want to add an item to rotate the page clockwise, you can do the following:
**Example**
```javascript theme={null}
webViewer.viewer.addContextMenu({
menus: [
{
type: 'MENU',
position: 'FIRST',
icon: webViewer.refs.icon.ROTATE_CLOCKWISE,
label: 'Rotate Clockwise',
onclick: () => {
webViewer.viewer.rotateClockwise();
},
},
],
});
```
#### Add Context Menu
You can add items to the context menu (the pop-up menu you see when you right click on a document in MuPDF WebViewer) using the [`viewer.addContextMenu()`](/api-reference/viewer/index#addcontextmenu) function.
For example, if you want to add an item to rotate the page clockwise, you can do the following:
**Example**
```javascript theme={null}
webViewer.viewer.addContextMenu({
menus: [
{
type: 'MENU',
position: 'FIRST',
icon: webViewer.refs.icon.ROTATE_CLOCKWISE,
label: 'Rotate Clockwise',
onclick: () => {
webViewer.viewer.rotateClockwise();
},
},
],
});
```
 #### Define Document Panel
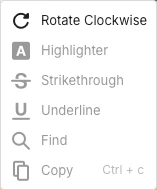
You can define the document panel using the [`viewer.defineDocumentPanel()`](/api-reference/viewer/index#definedocumentpanel) function.
For example, if you want to define the document panel to show the bookmark panel as **"Table of Contents"** and the annotation panel as **"Markups"** then you can do the following:
**Example**
```javascript theme={null}
webViewer.viewer.defineDocumentPanel({
items: [
{
label: 'Table of Contents',
icon: webViewer.refs.icon.BOOKMARK,
onclick: () => {
webViewer.viewer.togglePanel({
type: webViewer.refs.panel.open.BOOKMARK,
});
},
},
{
label: 'Markups',
icon: webViewer.refs.icon.PENCIL,
onclick: () => {
webViewer.viewer.togglePanel({
type: webViewer.refs.panel.open.ANNOTATION,
});
},
},
],
});
```
#### Define Document Panel
You can define the document panel using the [`viewer.defineDocumentPanel()`](/api-reference/viewer/index#definedocumentpanel) function.
For example, if you want to define the document panel to show the bookmark panel as **"Table of Contents"** and the annotation panel as **"Markups"** then you can do the following:
**Example**
```javascript theme={null}
webViewer.viewer.defineDocumentPanel({
items: [
{
label: 'Table of Contents',
icon: webViewer.refs.icon.BOOKMARK,
onclick: () => {
webViewer.viewer.togglePanel({
type: webViewer.refs.panel.open.BOOKMARK,
});
},
},
{
label: 'Markups',
icon: webViewer.refs.icon.PENCIL,
onclick: () => {
webViewer.viewer.togglePanel({
type: webViewer.refs.panel.open.ANNOTATION,
});
},
},
],
});
```
 #### Define Text Selection Menu
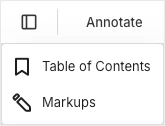
You can define the text selection menu by using the [`viewer.defineTextSelectionMenu()`](/api-reference/viewer/index#definetextselectionmenu) function.
**Example**
```javascript theme={null}
webViewer.viewer.defineTextSelectionMenu({
menus: [
{
label: 'Ask AI',
onclick: async () => {
console.log(`Selected Texts: ${(await webViewer.text.getSelected()).text}`);
},
icon: webViewer.refs.icon.SHARE,
},
],
});
```
#### Define Text Selection Menu
You can define the text selection menu by using the [`viewer.defineTextSelectionMenu()`](/api-reference/viewer/index#definetextselectionmenu) function.
**Example**
```javascript theme={null}
webViewer.viewer.defineTextSelectionMenu({
menus: [
{
label: 'Ask AI',
onclick: async () => {
console.log(`Selected Texts: ${(await webViewer.text.getSelected()).text}`);
},
icon: webViewer.refs.icon.SHARE,
},
],
});
```
 #### Define Annotation Selection Menu
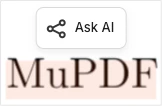
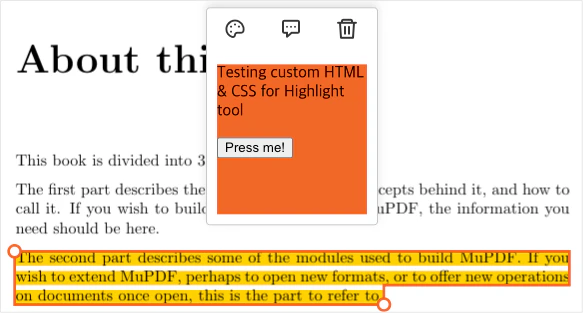
You can define the annotation selection menu by using the [`viewer.defineAnnotSelectMenu()`](/api-reference/viewer/index#defineannotselectmenu) function.
For example, if you want to define the annotation selection menu when selecting a highlight annotation, you can do something like the following:
**Example**
```javascript theme={null}
let html = `
#### Define Annotation Selection Menu
You can define the annotation selection menu by using the [`viewer.defineAnnotSelectMenu()`](/api-reference/viewer/index#defineannotselectmenu) function.
For example, if you want to define the annotation selection menu when selecting a highlight annotation, you can do something like the following:
**Example**
```javascript theme={null}
let html = `Testing custom HTML & CSS for Highlight tool
 But what if you'd like to show this menu *as soon as a user selects* text?
In this case you would need to use an event listener which detects if text is indeed selected and then opens the context menu by using the [`viewer.openContextMenu()`](/api-reference/viewer/index#opencontextmenu) function.
**Example**
```javascript theme={null}
webViewer.addEventListener(webViewer.refs.event.type.TEXT_SELECTION_CHANGE, (e) => {
function getSelectedText() {
webViewer.text.getSelected().then(successCallbackGetText, failureCallbackGetText)
}
function successCallbackGetText(result) {
if (result) {
webViewer.viewer.openContextMenu();
}
}
function failureCallbackGetText(error) {
console.error(`Error: ${error}`);
}
getSelectedText();
});
```
#### Define the Right Click Action
If required the behaviour for the right-click option can be overridden by using the [`viewer.defineRightClickAction()`](/api-reference/viewer/index#definerightclickaction) function.
**Example**
```javascript theme={null}
webViewer.viewer.defineRightClickAction({onclick:myFunc})
function myFunc() {
alert("Your JS here!");
}
```
But what if you'd like to show this menu *as soon as a user selects* text?
In this case you would need to use an event listener which detects if text is indeed selected and then opens the context menu by using the [`viewer.openContextMenu()`](/api-reference/viewer/index#opencontextmenu) function.
**Example**
```javascript theme={null}
webViewer.addEventListener(webViewer.refs.event.type.TEXT_SELECTION_CHANGE, (e) => {
function getSelectedText() {
webViewer.text.getSelected().then(successCallbackGetText, failureCallbackGetText)
}
function successCallbackGetText(result) {
if (result) {
webViewer.viewer.openContextMenu();
}
}
function failureCallbackGetText(error) {
console.error(`Error: ${error}`);
}
getSelectedText();
});
```
#### Define the Right Click Action
If required the behaviour for the right-click option can be overridden by using the [`viewer.defineRightClickAction()`](/api-reference/viewer/index#definerightclickaction) function.
**Example**
```javascript theme={null}
webViewer.viewer.defineRightClickAction({onclick:myFunc})
function myFunc() {
alert("Your JS here!");
}
```