UI Customization
UI customization is useful for both branding the MuPDF WebViewer as well as adding or removing features.Visual Customization
The following visual customization is possible: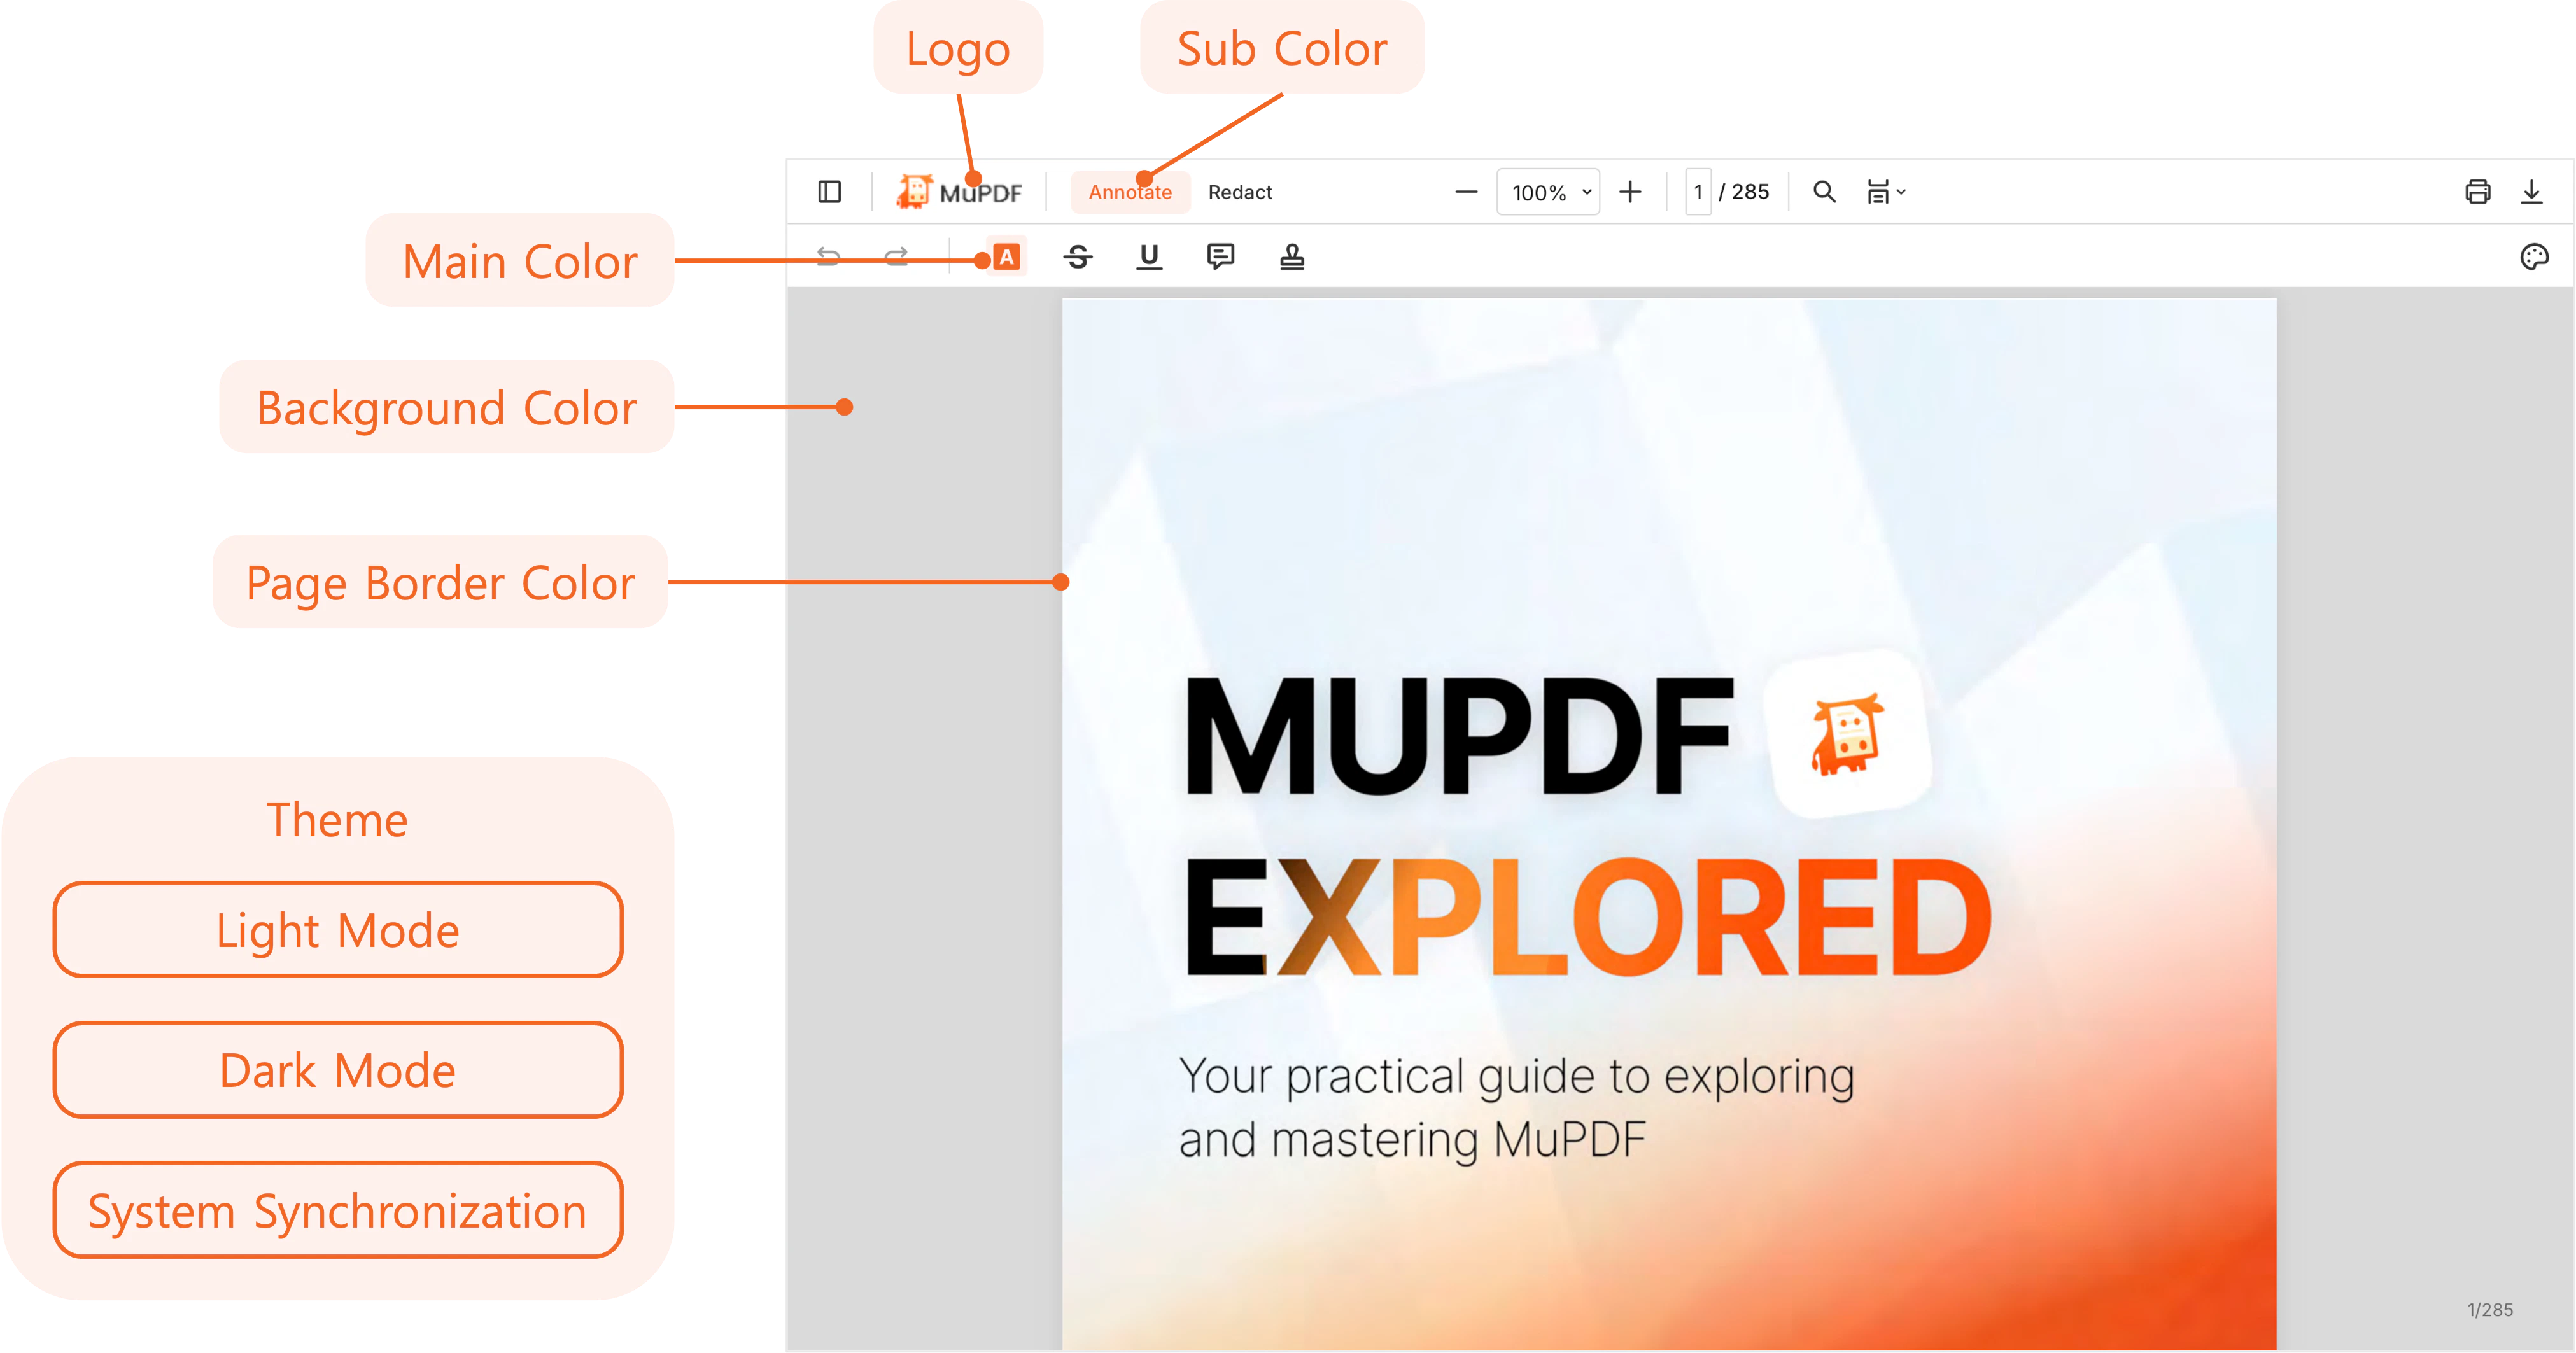
WCAG
Color contrast
The default light and dark themes are designed to achieve WCAG 2.1 Level AAA conformance for text contrast and at least AA conformance for icons.
Developers customizing the UI should use tools like the Firefox Accessibility Inspector to maintain proper contrast ratios.
Set Main and Sub colors
This sets the main and sub colors - these reflect the button & text colors when these items are selected. See:viewer.setColor().
Set Background Color
Sets the background color behind the document page. Seeviewer.setBackgroundColor().
Set Page Border Color
Sets the page border color. Seeviewer.setPageBorderColor().
Set Theme
Sets the theme for light mode, dark mode or system synchronization. Seeviewer.setTheme().
Set Logo
Allows to set a logo in the top header area. Seeviewer.setLogo().
Functional Customization
Sometimes you may want to alter the functionality of the MuPDF WebViewer User Interface by showing or hiding elements or by editing components. The available customizations are possible:Display/Hide UI
You can display/hide the UI elements using theviewer.setViewVisibility() function.
For example, if you want to hide the toolbar, you can do the following:
Example #1
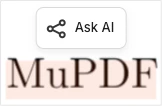
Add Buttons to Toolbar
You can add buttons to the toolbar using theviewer.addButton() function.
For example, if you want to add a button to the toolbar to enter fullscreen, you can do the following:
Example
Add Context Menu
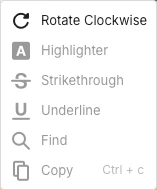
You can add items to the context menu (the pop-up menu you see when you right click on a document in MuPDF WebViewer) using theviewer.addContextMenu() function.
For example, if you want to add an item to rotate the page clockwise, you can do the following:
Example
Define Document Panel
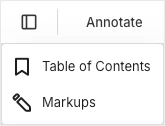
You can define the document panel using theviewer.defineDocumentPanel() function.
For example, if you want to define the document panel to show the bookmark panel as “Table of Contents” and the annotation panel as “Markups” then you can do the following:
Example
”Bookmarks”, “Table of Contents” and “Outline” are all synonomous terms - we can’t guess which term you like most! 🙂
Define Text Selection Menu
You can define the text selection menu by using theviewer.defineTextSelectionMenu() function.
Example
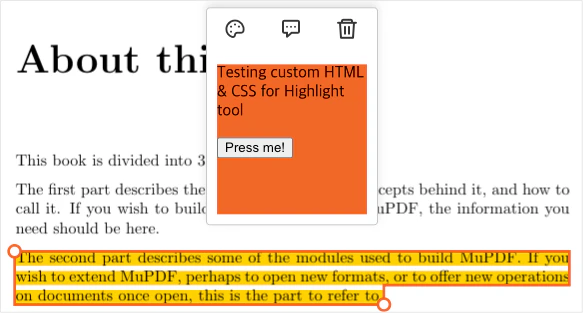
Define Annotation Selection Menu
You can define the annotation selection menu by using theviewer.defineAnnotSelectMenu() function.
For example, if you want to define the annotation selection menu when selecting a highlight annotation, you can do something like the following:
Example
Define When to Show the Context Menu
Normally when viewing a document the user can right-click on the document to activate the quick shortcut context menu:viewer.openContextMenu() function.
Example
Define the Right Click Action
If required the behaviour for the right-click option can be overridden by using theviewer.defineRightClickAction() function.
Example